> ## Documentation Index
> Fetch the complete documentation index at: https://speckle-assistant.mintlify.site/llms.txt
> Use this file to discover all available pages before exploring further.

# Sending

export const app_0 = "AutodeskRevit"

export const versions_0 = "2020, 2021, 2022, 2023 and 2024"

export const connector_0 = "Revit"

<div class="callout my-4 px-5 py-4 overflow-hidden rounded-2xl flex gap-3 border-2 border-red-600 bg-red-100/50 dark:border-red-600 dark:bg-red-400/20" data-callout-type="warning">
  <div class="mt-0.5 w-4" data-component-part="callout-icon">
    <svg class="flex-none w-5 h-5 text-red-700 dark:text-red-300" fill="none" viewBox="0 0 24 24" stroke="currentColor" stroke-width="2" aria-label="Warning">
      <path stroke-linecap="round" stroke-linejoin="round" d="M12 9v2m0 4h.01m-6.938 4h13.856c1.54 0 2.502-1.667 1.732-3L13.732 4c-.77-1.333-2.694-1.333-3.464 0L3.34 16c-.77 1.333.192 3 1.732 3z" />
    </svg>
  </div>

  <div class="text-sm prose min-w-0 w-full text-red-700 dark:text-red-300" data-component-part="callout-content">
    <b>Notice</b>: This user guide is based on the legacy {connector_0} connector.<br />
    We recommend using our new connectors instead, as they are easier to use and actively maintained. This legacy documentation may not be up to date.
  </div>
</div>

<Info>
  Legacy Speckle supports {app_0} versions: {versions_0}
</Info>

After successfully installing the Revit connector for Speckle, let's send your first data from Revit to Speckleverse.

<Note>
  We have renamed some core concepts in Speckle to be more widely understandable.

  * <i>Streams</i> have been renamed to <b>projects</b>
  * <i>Branches</i> have been renamed to <b>models</b>
  * <i>Commits</i> have been renamed to <b>versions</b>
</Note>

## Launching the connector

Revit connector will be added to all supported versions that you have installed.

To launch the connector:

<img src="https://mintlify.s3.us-west-1.amazonaws.com/speckle-assistant/legacy/user/revit/images/legacy/revit/launching-the-connector.png" alt="Launching the connector" />

1. Navigate to the "**Speckle**" tab in the ribbon.
2. Click on the "**Revit Connector**" button, the one with the little blue brick 🧊.

## Sending Models
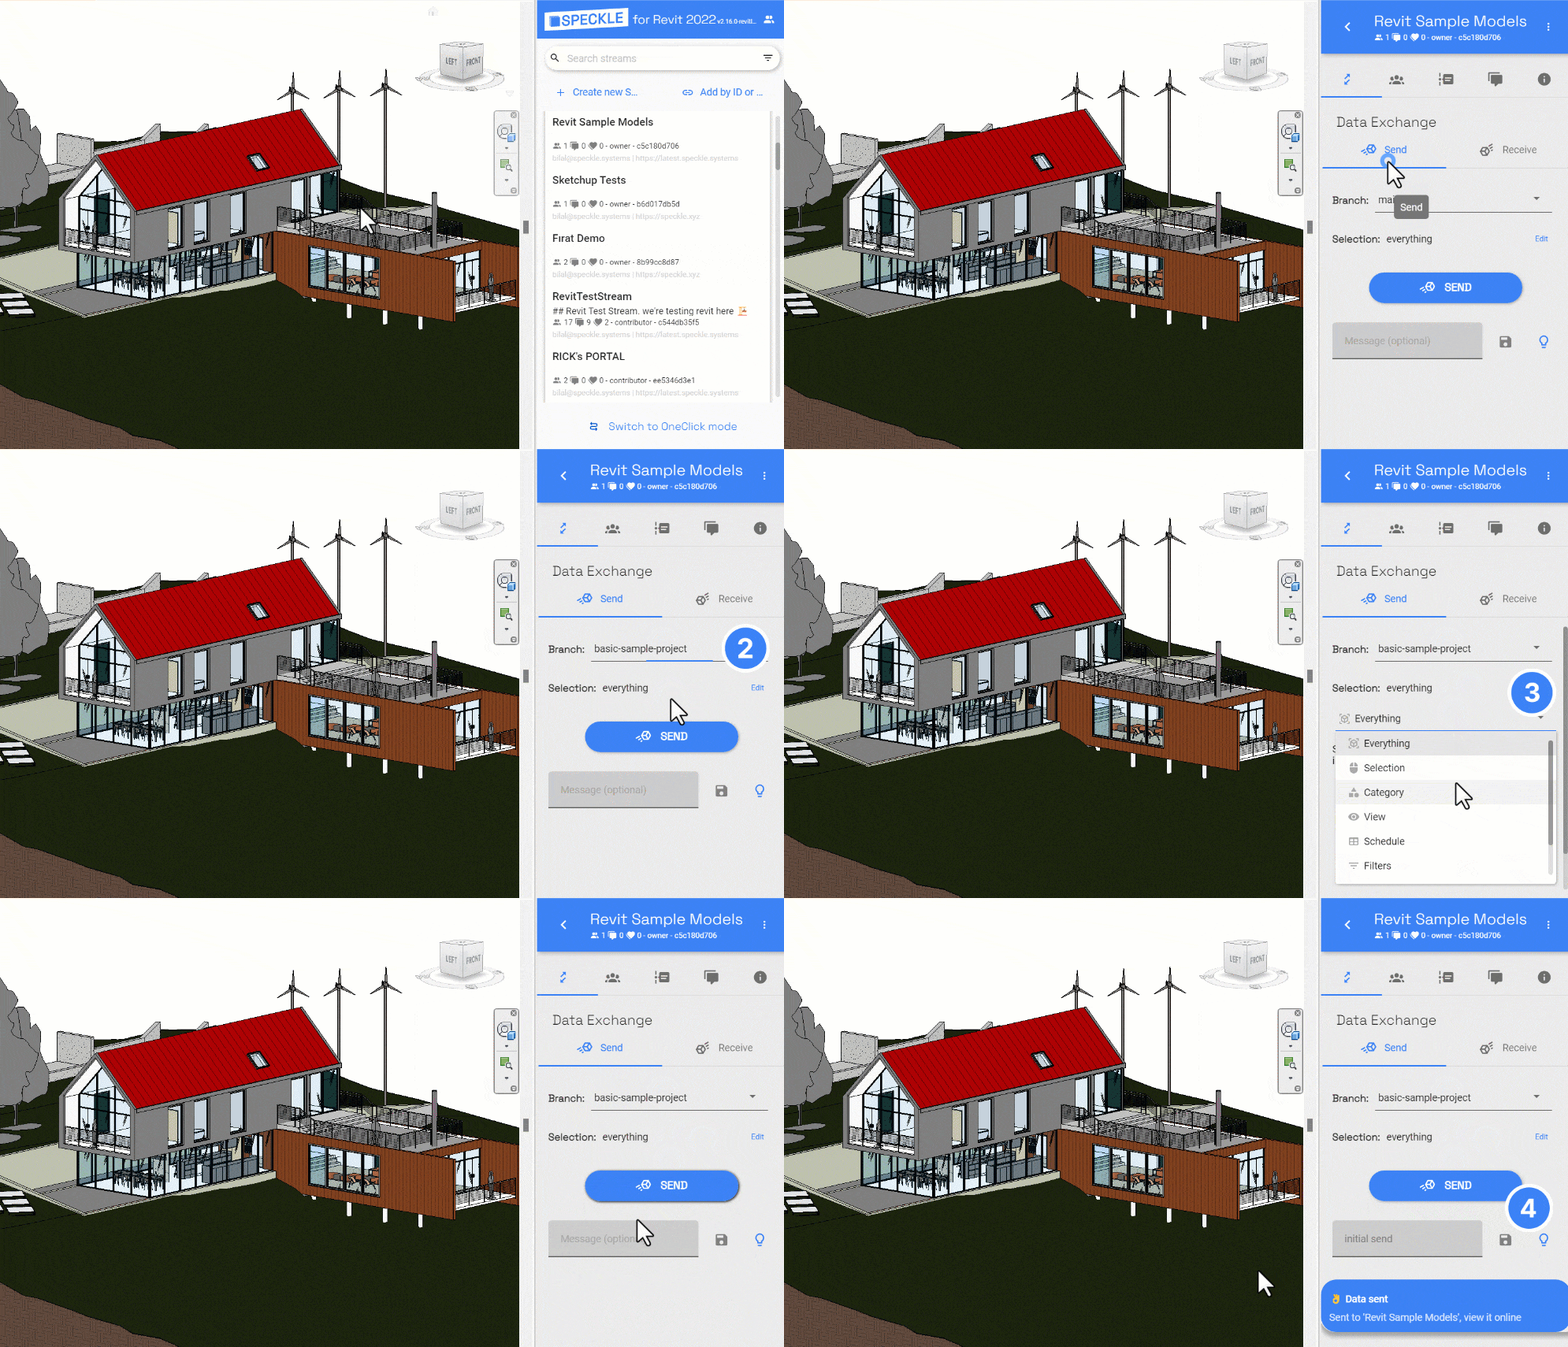
<img src="https://mintcdn.com/speckle-assistant/fg3pAWkGJ20EuRbE/images/legacy/revit/sending-from-revit.gif?s=4f4b811b90fe995542cae8157f3f5d71" alt="Sending from Revit" width="995" height="570" data-path="images/legacy/revit/sending-from-revit.gif" />

Sending your Revit model takes only **4** steps:

1. **Select (or create) a Speckle project**.
2. **Select (or create) a Speckle model** to send to.
3. **Select what you want to send**.
4. Click **Send**.

Let's expand on these.

## Selecting a Speckle project and model

Before sending data from Revit, it is important to determine where you want to send the data. You can create a Speckle project & model using the web interface or the Revit Connector UI. We'll cover how to create those using the Connector UI.

### Create a Speckle project
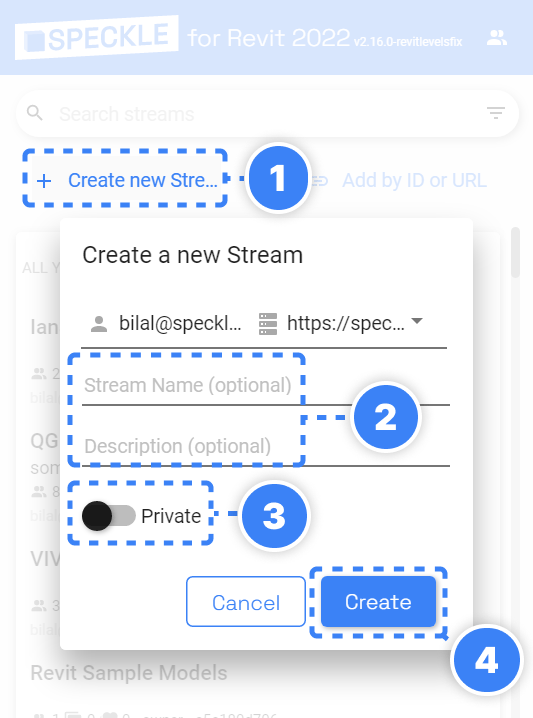
<img src="https://mintcdn.com/speckle-assistant/2orQqUKP95_W-JuF/images/legacy/revit/create-speckle-project.png?fit=max&auto=format&n=2orQqUKP95_W-JuF&q=85&s=eb8690918fbcc126f9b0432476042ea9" alt="Create Speckle Project" width={350} data-path="images/legacy/revit/create-speckle-project.png" />

To create a Speckle Project:

1. Click the **Create New Project** button.
2. Provide a **Name** for your Project and an optional **Description**.
3. Use the toggle, to make your project **Private** or **Link Shareable**.
4. Click **Create**.
<Tip>
  It's not necessary to create a Speckle project every time. You can also select an existing project and send data to it.
</Tip>

You can also create a Speckle Project using Speckle's web interface.

### Create a Speckle model

<img src="https://mintcdn.com/speckle-assistant/2orQqUKP95_W-JuF/images/legacy/revit/create-speckle-model.png?fit=max&auto=format&n=2orQqUKP95_W-JuF&q=85&s=ca1f60636f0f5068c28655fc16321007" alt="Create Speckle Model" width={700} style={{display: 'block'}} data-path="images/legacy/revit/create-speckle-model.png" />

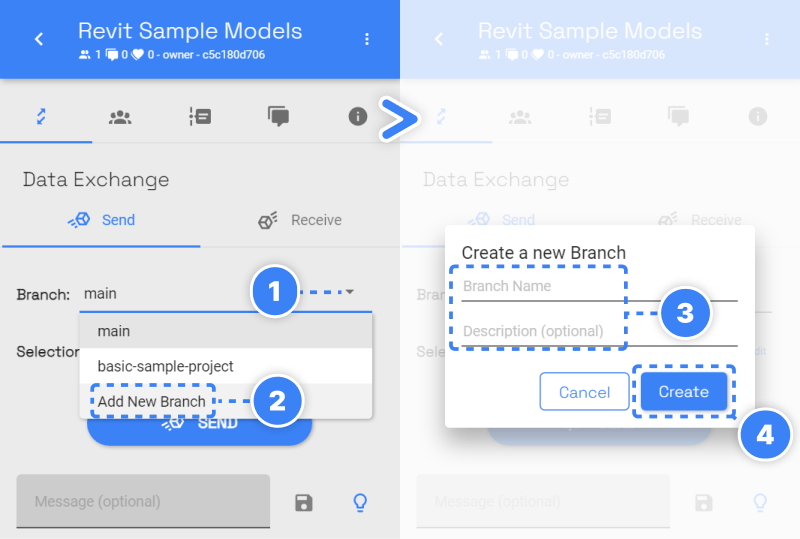
To create a Speckle model:

1. Expand the **Model** dropdown.
2. Select **Add New Model**.
3. Provide a **Name** and an optional **Description**.
4. Click **Create**.
<Tip>
  Again, you can also select an existing model and send data to it.
</Tip>

You can also create a Speckle model using Speckle's web interface.

## Selecting what to send

Next, you need to decide what you want to send from Revit. To help you select which elements will be sent to Speckle, we've built various filters into our Revit connector. Once a filter is set, just click **Send** and all objects passing the filter will be sent to your Project.

Let's review each of filter.

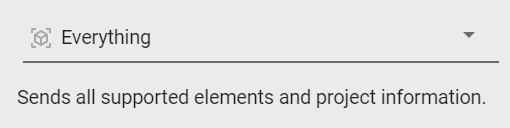
### 1. Everything

Sends all supported model elements, family types, levels, project information etc. The everything filter covers graphical and non-graphical elements in the model.

<img src="https://mintcdn.com/speckle-assistant/2orQqUKP95_W-JuF/images/legacy/revit/filter-everything.png?fit=max&auto=format&n=2orQqUKP95_W-JuF&q=85&s=a63f2c7422a22cb4a546bd74ee9ea2a2" alt="Everything filter" width={350} data-path="images/legacy/revit/filter-everything.png" />

### 2. Selection

Manually select elements from Revit, click "**Set Current Selection**" and send them to Speckle.
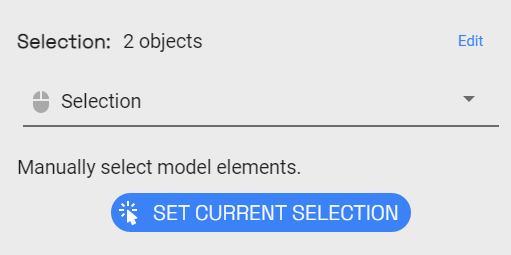
<img src="https://mintcdn.com/speckle-assistant/2orQqUKP95_W-JuF/images/legacy/revit/filter-selection.png?fit=max&auto=format&n=2orQqUKP95_W-JuF&q=85&s=b02fed4b14b2fd49ab56edb9d8c7cbc7" alt="Selection filter" width={350} data-path="images/legacy/revit/filter-selection.png" />

### 3. Category

The category filter lets you select one or multiple supported Revit categories.
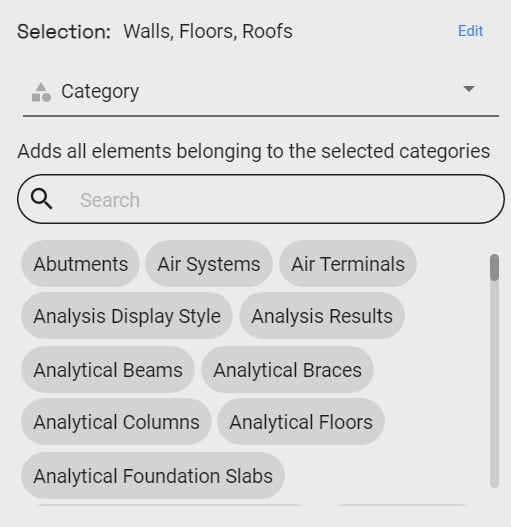
<img src="https://mintcdn.com/speckle-assistant/2orQqUKP95_W-JuF/images/legacy/revit/filter-category.png?fit=max&auto=format&n=2orQqUKP95_W-JuF&q=85&s=6c0bd9de76575328c5646692f7fb1c03" alt="Category filter" width={350} data-path="images/legacy/revit/filter-category.png" />

### 4. View

The view filter works similarly to the category filter and lets you include all elements visible in one or multiple views.
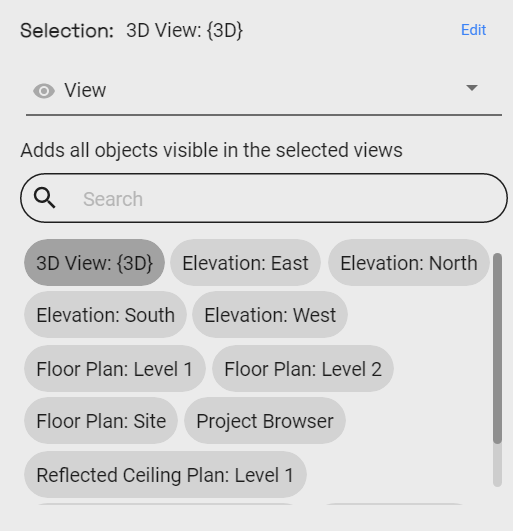
<img src="https://mintcdn.com/speckle-assistant/2orQqUKP95_W-JuF/images/legacy/revit/filter-view.png?fit=max&auto=format&n=2orQqUKP95_W-JuF&q=85&s=2306715316f7c48e44e003f7ebe6b676" alt="View filter" width={350} data-path="images/legacy/revit/filter-view.png" />

### 5. Schedule

Sends the selected Revit Schedule as a **DataTable** to Speckle.
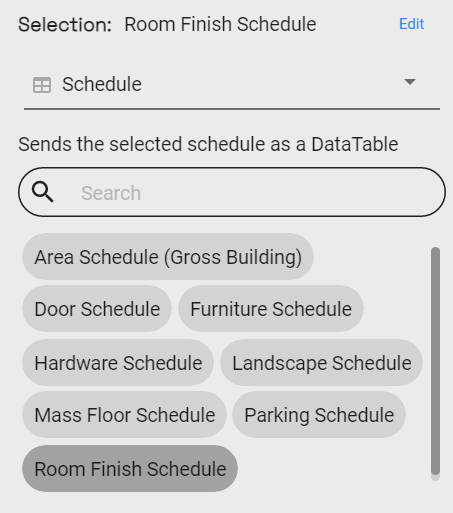
<img src="https://mintcdn.com/speckle-assistant/2orQqUKP95_W-JuF/images/legacy/revit/filter-schedule.png?fit=max&auto=format&n=2orQqUKP95_W-JuF&q=85&s=49dd8a20523178a35c20dce2bad0e89e" alt="Schedule filter" width={350} data-path="images/legacy/revit/filter-schedule.png" />

### 6. Filters

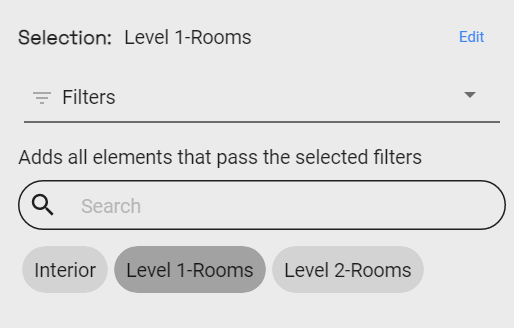
Filters are used to selectively extract specific model elements based on predefined logical conditions. In the given image, for instance, Speckle will identify and send all elements that passes the selected filter.
<img src="https://mintcdn.com/speckle-assistant/2orQqUKP95_W-JuF/images/legacy/revit/filter-revit-filter.png?fit=max&auto=format&n=2orQqUKP95_W-JuF&q=85&s=c8e6092a593477d3e636b28a12b0a363" alt="Revit filter" width={350} data-path="images/legacy/revit/filter-revit-filter.png" />

### 7. Workset

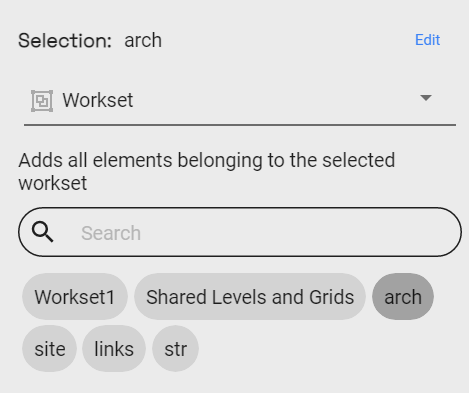
Selects all elements belonging to the selected workset.
<img src="https://mintcdn.com/speckle-assistant/2orQqUKP95_W-JuF/images/legacy/revit/filter-worksets.png?fit=max&auto=format&n=2orQqUKP95_W-JuF&q=85&s=4a40d71e766428e3ddda0986c8f7e07c" alt="Workset filter" width={350} data-path="images/legacy/revit/filter-worksets.png" />

### 8. Project information

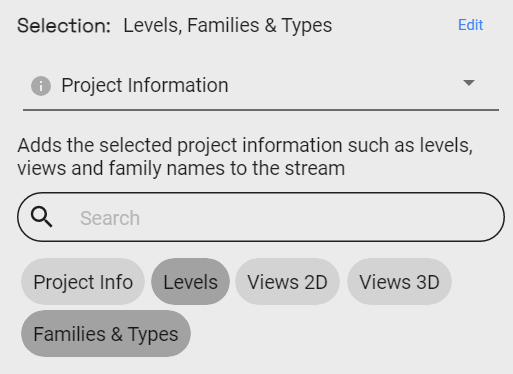
The project info filter lets you add non-graphical elements, such as Levels, Views (2D & 3D), Family Types (their properties, not geometry), and Project Information.
<img src="https://mintcdn.com/speckle-assistant/2orQqUKP95_W-JuF/images/legacy/revit/filter-project-info.png?fit=max&auto=format&n=2orQqUKP95_W-JuF&q=85&s=0b30ee7b605fe21b016f687c6087f8eb" alt="Project info filter" width={350} data-path="images/legacy/revit/filter-project-info.png" />
